Kivy教程-Kivy中的下拉列表

下拉列表与自定义小部件一起使用。用户使用下拉列表来显示位于显示小部件下方的小部件列表。小部件列表用于存储任何类型的小部件,如图片、简单按钮等。
用户可以重新排列下拉列表的位置,因为它是完全自动的。此外,开发者可以简单地放置这个列表,以便用户可以轻松地从列表中选择项目。
在开发下拉列表时要记住的重点:
- 当用户添加小部件时,用户应该手动指定它们的高度,以便下拉列表可以轻松计算它所需要的区域。
- 下拉列表内的所有按钮都应该触发下拉 "DropDown.select()" 调用后,主按钮文本应显示在下拉的选择中。
在使用这个小部件时,开发者应该首先导入以下内容:
from kivy.uix.dropdown import DropDown 下拉列表的基本方法:
- 导入Kivy
- 然后,导入Kivy应用
- 接着,我们将导入下拉列表
- 并且,导入按钮
- 我们还可以查看它的最小版本,这是可选的。
- 最后,我们将导入runTouchApp
- 我们将创建下拉列表
- 然后,我们将创建runTouchApp函数,这个函数将接受小部件作为参数来运行应用程序。
示例:
# Python Program for explaining how to create a drop-down in kivy
# first we will import kivy module
import kivy

# the base Class of our Application is inherited from the App class.
# app is alway used for refering to the instance of our application
from kivy.app import App

# this will restrict the kivy version that means we can not use
# the application or software below this Version of Kivy
kivy.require('1.9.0')

# Now we will import the Drop-down from the module for using it in the program
from kivy.uix.dropdown import DropDown

# The Button will be a Label with associated actions which will be released when the button is clicked
from kivy.uix.button import Button

# the another way used for running the kivy application
from kivy.base import runTouchApp

# now we will create the dropdown with 15 buttons
drop_down = DropDown()
for index in range(15):

    # now, Add the button in the drop down list
    btton = Button(text ='List % d' % index, size_hint_y = None, height = 30)

    # now we will bind the button for showing the text when it is selected
    btton.bind(on_release = lambda btton: drop_down.select(btton.text))

    # then we will add the button inside the drop_down list
    drop_down.add_widget(btton)

# now we will create the big main button
main_button = Button(text ='MAIN', size_hint =(None, None), pos =(350, 300))

# now, we will first show the drop_down menu when the main button will releases
# we should note that all of the bind() function calls will pass the instance of the caller
# as the first argument of the callback (in this program, the main_button instance)
# now, dropdown.open.
main_button.bind(on_release = drop_down.open)

# now we have to do last thing, listen for the selection in the
# dropdown list and assign the data to the button text.
drop_down.bind(on_select = lambda instance, x: setattr(main_button, 'text', x))

# runtouchApp:
# If we pass only the widget in runtouchApp(), the Window will be
# created and our widget will be added to that window as the root widget.
runTouchApp(main_button)
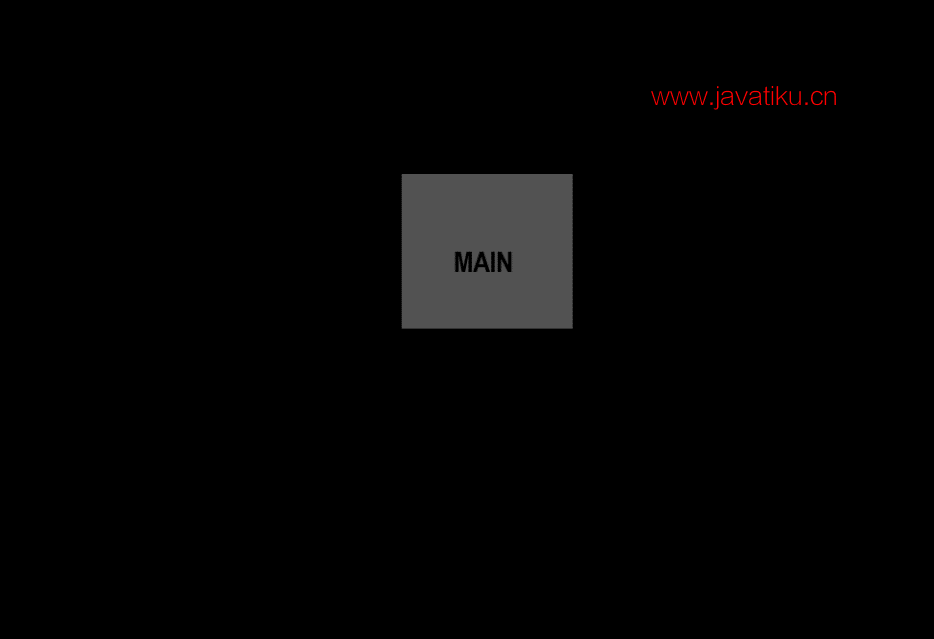
输出:
运行上述代码后,用户将得到此输出:

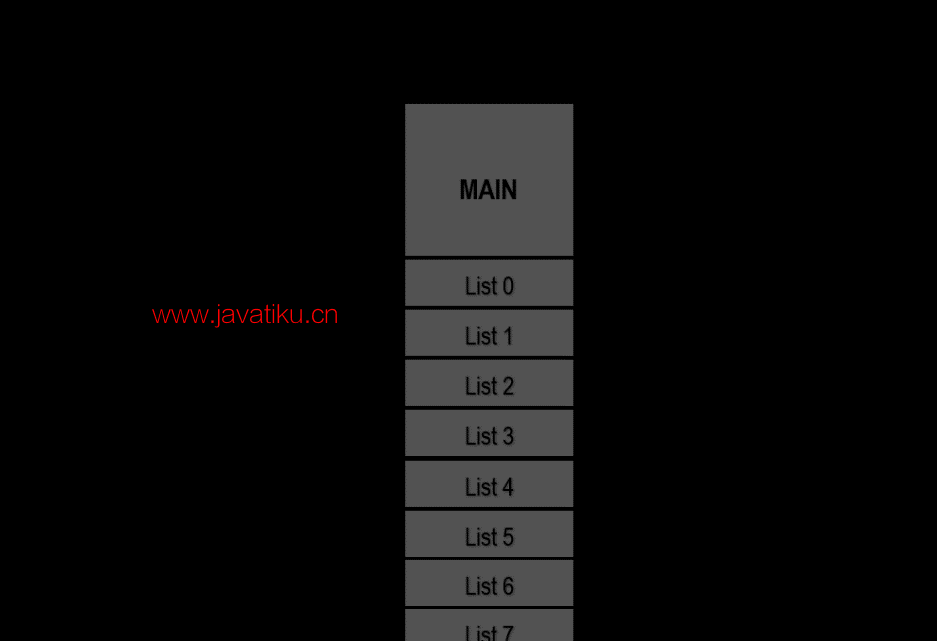
点击主按钮后,下拉列表将打开:


